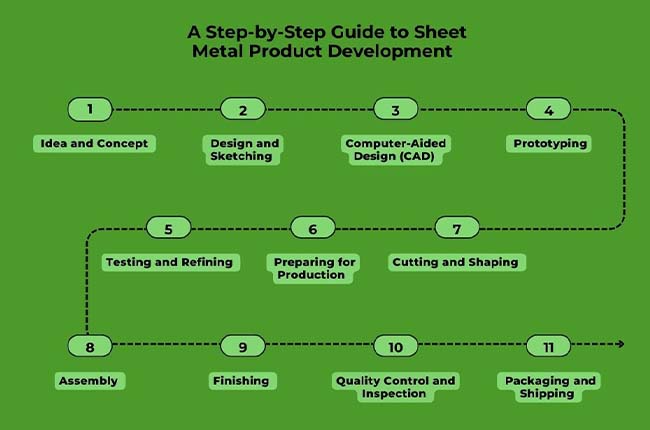
From Concept to Creation: A Step-by-Step Guide to Sheet Metal Product Development
Sheet metal is all around us, from the cars we drive to the appliances in our homes. But how do these sheet metal products come to life? It’s a journey that starts with an idea and ends with a finished product. Let’s walk through this process step by step, from the initial concept to the creation of a sheet metal product.
Step 1: Idea and Concept
Every product starts with an idea. This could be a new tool, a car part, or even a kitchen appliance. The first step is to clearly define what the product is and what it needs to do. This involves thinking about the product’s purpose, how it will be used, and what problems it will solve. At this stage, it's also important to consider the materials needed and why sheet metal is a good choice.
Step 2: Design and Sketching
Once the idea is clear, it’s time to put it on paper. This means sketching out the design. The sketches don’t have to be perfect, but they should show the basic shape and features of the product. At this point, you also start thinking about the dimensions and how the parts will fit together. These sketches help turn the idea into something more concrete.
Step 3: Computer-Aided Design (CAD)
After sketching, the next step is to create detailed designs using Computer-Aided Design (CAD) software. CAD allows you to make precise digital models of your product. This software is powerful because it can show every detail, from tiny screws to large panels.
CAD models are essential for understanding how the product will look and function in the real world. They also help in identifying potential problems before any metal is cut.
Step 4: Prototyping
With a detailed CAD model in hand, the next step is to create a prototype. A prototype is a sample version of your product. It allows you to see and test the design in real life. Prototyping can be done using different methods, including 3D printing or cutting and shaping sheet metal.
This step is crucial for finding out if the design works as intended and if any changes are needed.
Step 5: Testing and Refining
Once the prototype is ready, it’s time to test it. Testing involves checking if the product performs its intended functions and meets all requirements. You might test for strength, durability, and usability. Based on the results, you might need to refine the design.
This could mean going back to the CAD software to adjust or creating new prototypes. This step ensures the final product is of high quality and ready for production.
Step 6: Preparing for Production
After refining the prototype and finalizing the design, the next step is to prepare for production. This involves creating detailed plans and instructions for manufacturing. These plans include the types of materials needed, the tools required, and the steps to follow. It’s also important to set up quality control processes to ensure every product meets the standards.
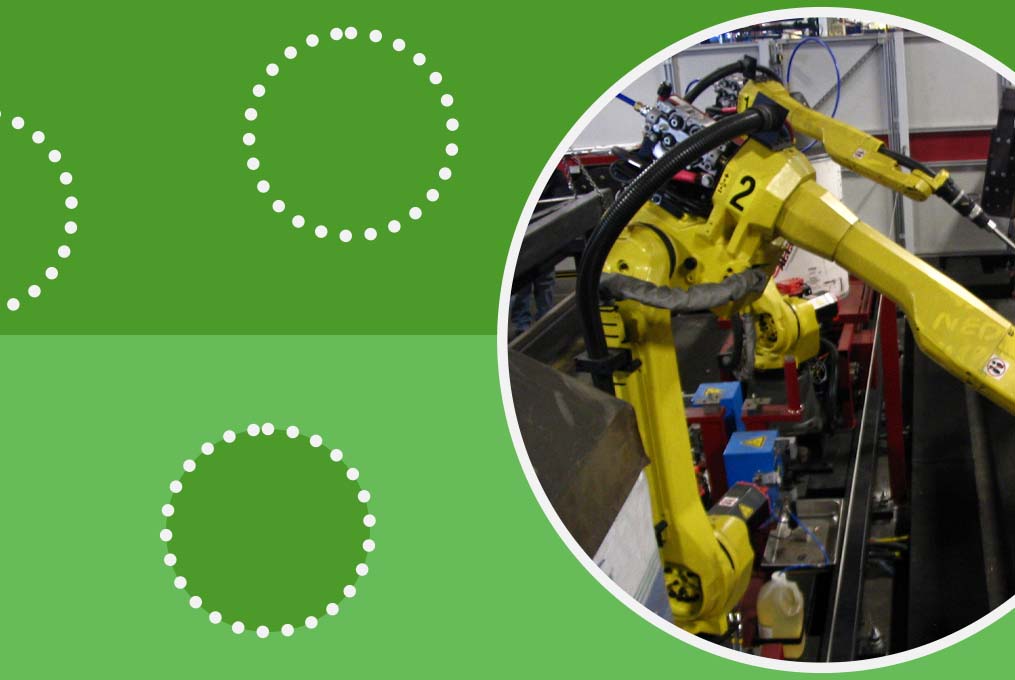
Step 7: Cutting and Shaping
Now it’s time to start making the product. This involves cutting and shaping the sheet metal according to the design. Modern manufacturing uses advanced machines like lasers and water jets to cut metal with high precision. Shaping might involve bending, stamping, or rolling the metal to get the desired form. Each piece is crafted carefully to match the design specifications.
Step 8: Assembly
Once all the parts are cut and shaped, they need to be assembled. This step involves putting together the pieces to form the final product. Depending on the product, this could mean welding, screwing, or riveting parts together. Assembly requires attention to detail to ensure everything fits perfectly and works as it should.
Step 9: Finishing
After assembly, the product needs finishing touches. This could include painting, coating, or polishing the metal. Finishing not only improves the appearance but also protects the metal from corrosion and wear. It’s the final step to ensure the product is ready for use and looks great.
Step 10: Quality Control and Inspection
Before the product can be shipped to customers, it must go through quality control and inspection. This involves checking the product for any defects or issues. Quality control ensures that each product meets the required standards and functions correctly. It’s a crucial step to ensure customer satisfaction.
Step 11: Packaging and Shipping
The final step is packaging and shipping the product. Packaging protects the product during transit and ensures it reaches the customer in perfect condition. Once packaged, the product is ready to be shipped to stores or directly to customers.
Conclusion
Creating a sheet metal product is a detailed and step-by-step process. From the initial concept to the final product, each step is important to ensure the product is high quality and meets the needs of the users.
By following these steps, you can turn a simple idea into a real, functional product made from sheet metal.